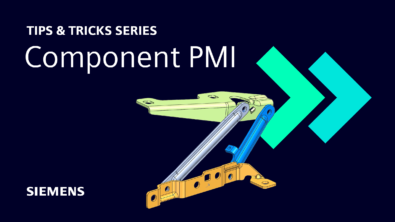
Component PMI | NX Tips and Tricks
Hello and welcome back to another Tips and Tricks installment that focuses on providing readers with a better understanding of how to get the most out of NX™ software. If you are new around here, we have been releasing new tips and tricks each week so far this year! If you want to check those out, you might find some other capabilities to help your workflow.
This week’s tips and tricks are going to revolve around Component PMI (Product and Manufacturing Information). PMI is information that you attach to or associate to a part or assembly in 3D environments such as Gateway and Modeling. This information can then be used downstream to replace drawings and blueprints for manufacturing. Let’s get started with the first tip!
Make Existing PMI visible in the assembly
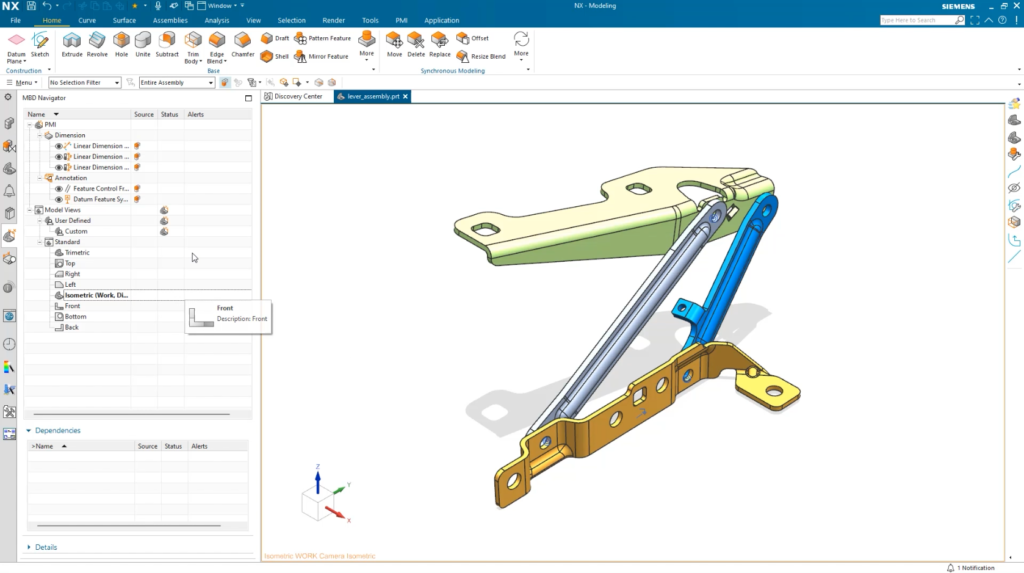
When your assembly is shown and you are wanting to make the existing PMI visible, the quickest way to show full detail is to select the assembly –> select component fully. This does not always show all the PMI of your model, so the next step is to head over to the MBD Navigator and select PMI. Here you can choose a custom view with your PMI shown.
Find exact PMI with rule-based query
It can be quite difficult to find the exact PMI that you are looking for. To solve for this issue, use the MBD query and search for PMI. Using a rule-based query, you can narrow down the search results and select it. Once the PMI types appear for all desired types, you can remove any dimensions to customize your view to only show PMI or isometric views with MBD Navigator.
Continue your journey with NX
We hope you have gained useful information about Component PMI and can use these tips within your own workflow. We encourage you to check back again soon to see what new tips and tricks are available!
