Draw Shape | NX Tips and Tricks
Introduction to Draw Shape
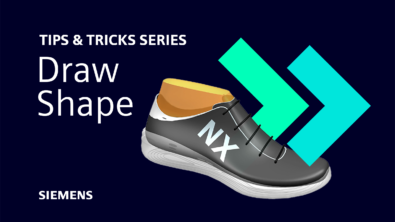
To continue in our series dedicated to sharing Tips and Tricks from the Siemens’ NX™ software December 2022 release, we are here to highlight Draw Shape functionality. The new features seen in Draw Shape take advanced shape design to the next level. The name functions just like it may sound – take your free-hand drawn ideas and make them a reality. To learn more about the new capabilities for shaping your models efficiently, continue to read below!
Draw Shape Definition: NX Draw shape is a new add-on module in this release which allows freehand drawing of wireframe shapes on bodies. This expands NX’s capabilities and allows users to visually convey and communicate key aspects of designs prior to moving into 3D.
Quickly create free hand-drawn curves by matching or snapping to existing ones
The key part of this functionality is being able to quickly generate new elements to a pre-existing sketch. The amount of detail that can be expected should be sufficient considering the quick access of free hand-drawn curves and lines added to the model. By being able to match or snap to existing curves, you are able to add complex detail within minutes. This quick free hand approach is similar to jotting down ideas and notes on paper but can turn them into reality.
Refine your design
Fillet
While this quick hitting approach of hand drawn design may sound too good to be true, in a way, it is. The highlighted features below can quickly turn your sketch into a reality. The outcome of the hand drawn design will need a bit of cleanup to refine the design and make appropriate connections between shapes, while trimming geometry that is not needed. Once your shapes are set, use the fillet command to fillet between two or three curves to bridge the gap between them. You can then specify the value for the fillet needed.

Top Tip: Remember to go back and trim or untrim for the appropriate design of your part.
Offset
The next thing that you can do to customize your hand drawn part is to offset the part in accordance with your design concept. The purpose of an offset is to extrude material creating a lip on your part. It is important to have your dimensions on hand to know exactly how much you are looking to offset a certain shape within your design. Once you are happy with the distance of your offset, use the extrude functionality to give your shape some 3D character.
Mirror
Another great time saving feature is the ability to mirror a copy of your finalized sketch across a line or axis. The mirror command works for both mirroring lines and curves of a design, but it can also mirror an extrude. Finding the midpoints of your design is crucial to creating a balanced and centered final design when using the mirror command.
Fast Fact: If you need to modify a sketch that is part of a mirror, the counterpart of the mirror will stay symmetric through the changes.
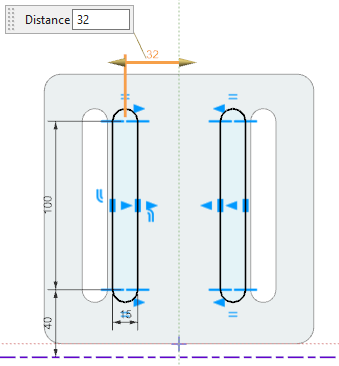
Project Curve command allows users to include external curves and existing edges to the Draw Shape sketch
The final tip that we will cover today involves the use of the Project Curve command to project curves, edges, or points that are external to the sketch. This allows you to project a curve associatively or non-associatively onto a sketch. Using the Project Curve command can also create constraints between projected curves and non-projected curves. These non-projected curves can always be moved based on the design, but projected curves are always fixed.
Final thoughts
Continuing to stay up to date on new functionality within NX can better your experience and improve your design workflow. In this instance, the speed and functionality of Draw Shape leads to faster visual representations of designs ideas before moving into the 3D realm. In this Tips and Tricks series, we will continue to dive into more specific features that can lead to success within NX.
Continue your journey with NX
Draw Shape | NX Tips and Tricks | YouTube Video

