Interpart Modeling: Part Two | NX Tips and Tricks
Today, we get to share the anticipated part two of the interpart modeling tips. Like the rest of our tips and tricks, these tips are targeted around areas that we feel users can get quick enhancements to their NX™ software workflow. If you haven’t been following along with the series, check out all the tips and tricks we have discussed here.
In this installment, we are going to look at assembly modifications through tools like product and WAVE link interfaces. To get started, we will bring back our coffee machine example and get started! Make sure to follow along with the video below for best application practice.
Utilize product interfaces to increase productivity
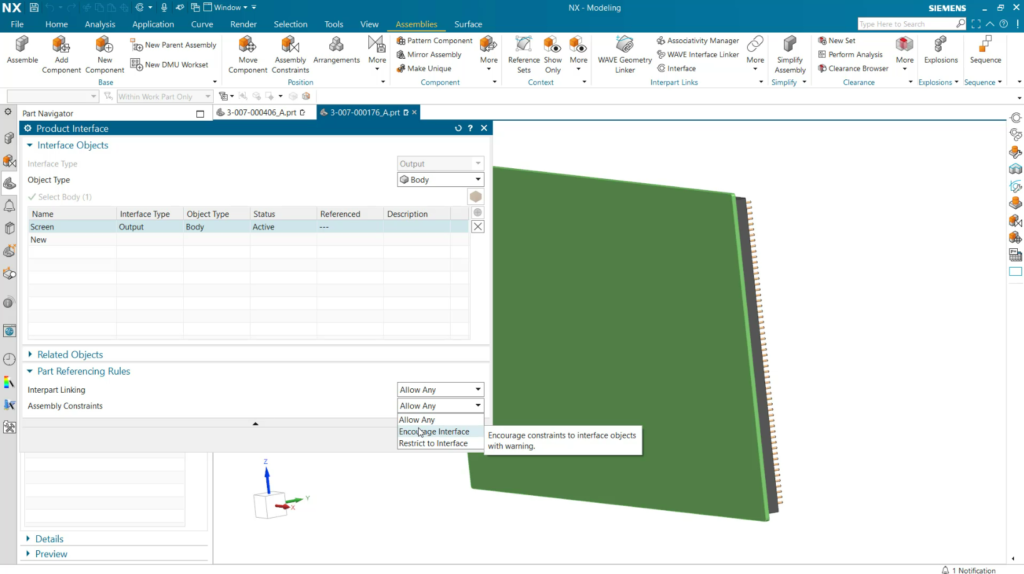
The product interface tool allows users to define geometry and expressions from a part and set this information as a reference to utilize in a new part. After the parent part is updated, the link part can still reflect the changes. However, when the part is new, the parent will not show the alterations.
Renaming the interface
Another aspect to focus on before moving on is whether the part is referencing both interpart linking and assembly constraints. These options can be very useful and significantly speed up design processes by limiting options when linking or creating new constraints.
Edit product interface parts without altering the parent part with WAVE Interface Linker Tool
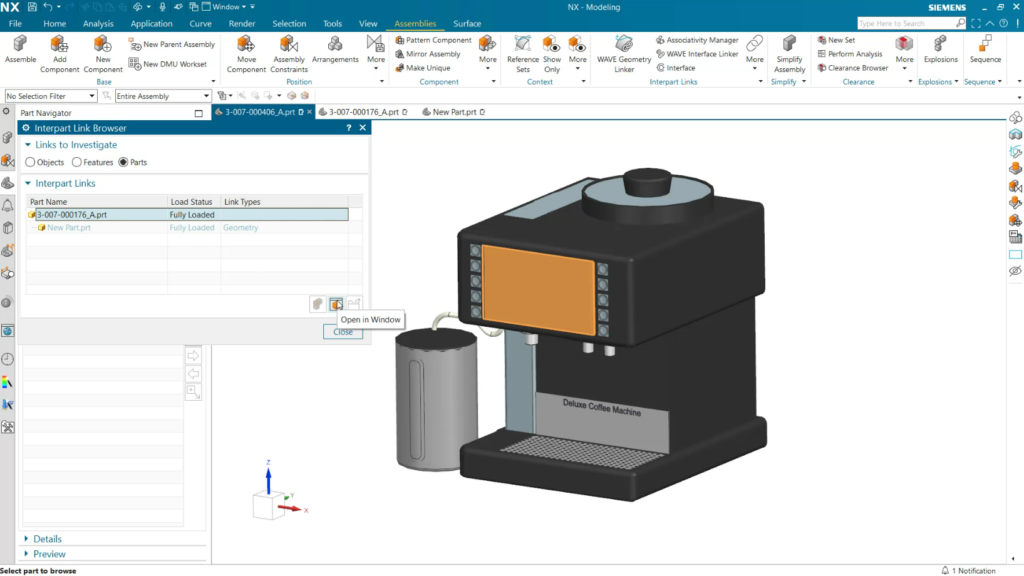
The WAVE Interface linker tool allows users to take previously created product interfaces and edit these parts without altering the parent part. Once the WAVE interface linker is opened, it shows a list of all loaded parts as well as the section for interfaces.
One of the benefits to product interface is that when changes are made to blends, the changes are updated on the new part created using WAVE Interface linker. This is very useful during the design process when changes are constantly being made, creating a more cohesive and intuitive approach to design. The capabilities mentioned here also allow users to efficiently test out new designs without the risk of altering the overall assembly.
Continue your journey with NX
We hope that these tips and tricks can be made useful in your workflow within NX. Each week we are releasing more tips and tricks right here at the NX Design blog.
NX | Tips and Tricks | Interpart Modeling: Part Two | YouTube Video
Take me to the NX Design blog