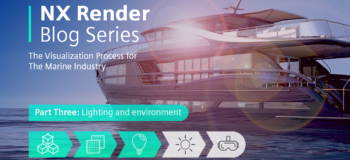
NX Render Blog Series | The Visualization Process for The Marine Industry – Part Three
Introduction
For anyone who isn’t an expert in rendering, creating an environment like one that the Princess Yacht X95 is set in, is a lot. There’s no hiding it, it looks overwhelming; but a large part of the reason why we write these blogs is to allow anyone to learn and start using NX render. This part is going to be split into two mini parts, both focusing on the lighting and the environment. This instalment is going to focus more on the lighting and how that affects the interior of the yacht and the façade. Stick around for the following part to this, as Gavin McCambridge will take us through the creation of the ocean and how to customize your environment.
Environment Set Up
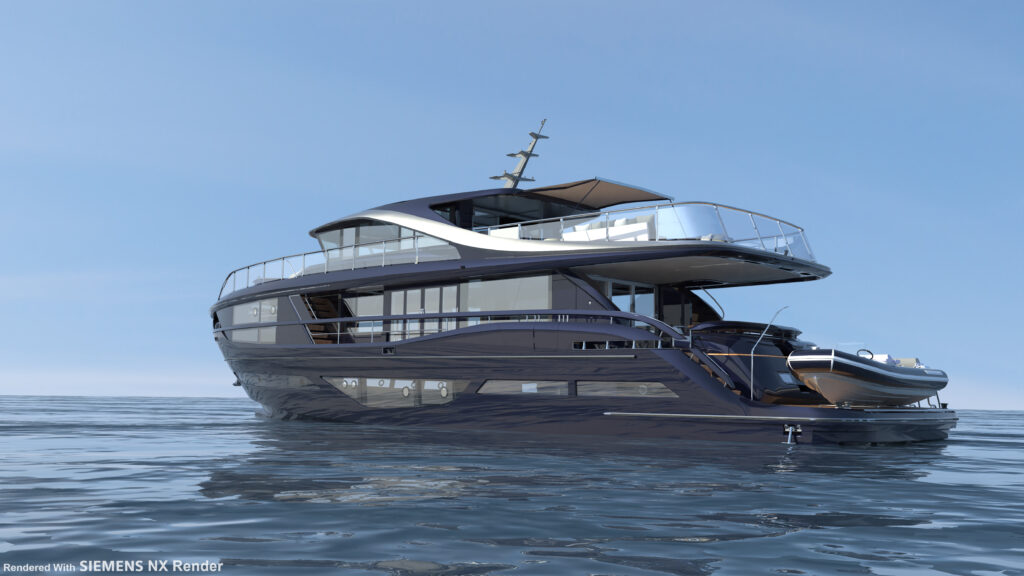
You can probably guess that this environment involved a different set up to previous models we’ve looked at. For consumer products and even vehicles, scenes are often set in an internal studio environment. However, when you think of a huge scale yacht, I’m going to take a guess and say you imagine it outside, on the ocean – and this is exactly what Gavin and the team had to consider.
“A lot of that was researching and looking at nice pictures of yachts in the ocean. So part of it was actually researching, finding out how we want it to look and then coming up with the techniques that we needed to actually create that as an environment for the rendering.”
Creating Customized Environments
For such a specific environment, setting up a custom environment is recommended. This allows the user to really tweak and manipulate how they want the scene to interact with the model, lighting, and camera angles. We will discuss the process of creating the ocean in the following blog, but at this stage it’s important to plan. To think about the relationship your textures and materials have with the model to create the surrounding environment.
“So, when we say environment, we’re saying about what you see behind the model and around the model. This scene itself is a little bit different.”
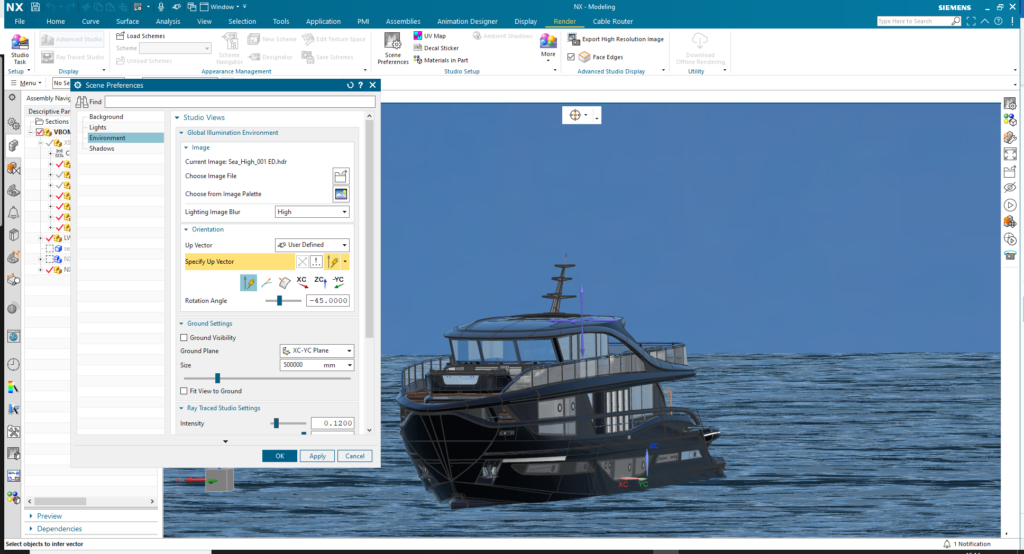
Siemens NX allows you to plug in your own HDRI’s (high dynamic range images), which are those that Gavin has used in this model for the lighting and the environment. In this case, having an environment that captured the lighting and movement of the ocean and how this was reflected on the model’s exterior. To have this created so specifically, a HDR was created from scratch with the ocean underneath and the sky above so the lighting could the be worked to get the reflections and depth correct.
Representing Luxury through Lighting
From our other instalments so far, we’ve really drawn attention to the need for research into the company and how they market their own products. This comes into play again here when wanting to showcase that high-end, luxury vibe to the model. Something to think about is, what’s the best way to display this product? What’s going to look great? Let’s see if Gavin has any top tips here to consider when planning this step.
TIP TOP
A key question to ask yourself here is the time of day you want your scene to reflect. What I’m looking for at this point is the highlights as well as the shadowing, this makes it look 3D. If you don’t have enough of different types of depth, then often your image will look flat. In this instance, a sunny day best represented the detail and extravagance in the interior and exterior of these yachts.
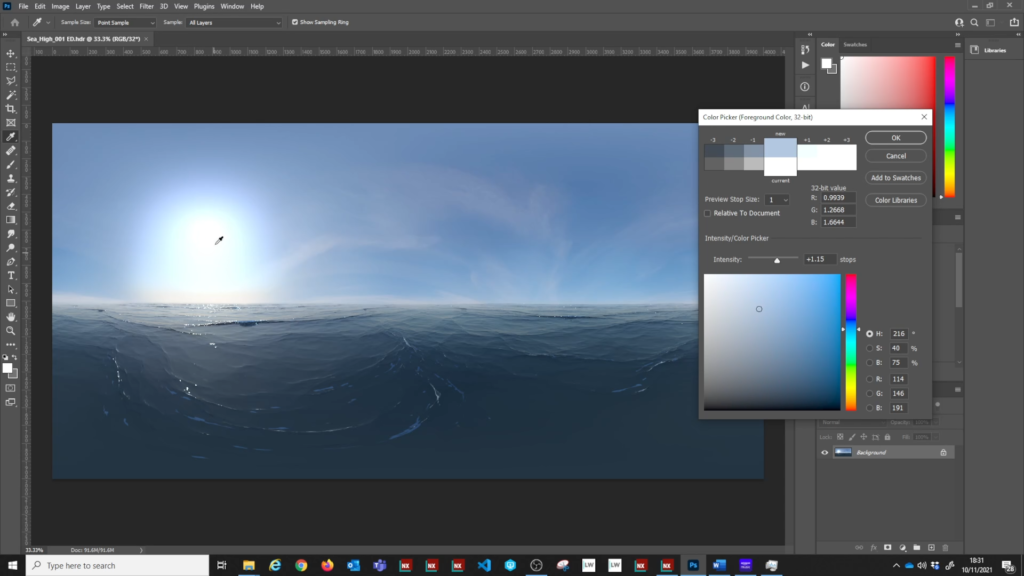
So, let’s say you’ve now decided on your environment, the time of day and how your model will exist in it; you can now move your attention to how your lighting can be adjusted to interact with the details and objects on the model. This detail will enhance the reality of the scene by creating more depth and contrast in the shadows and highlights.
Different Lighting for Different Shots
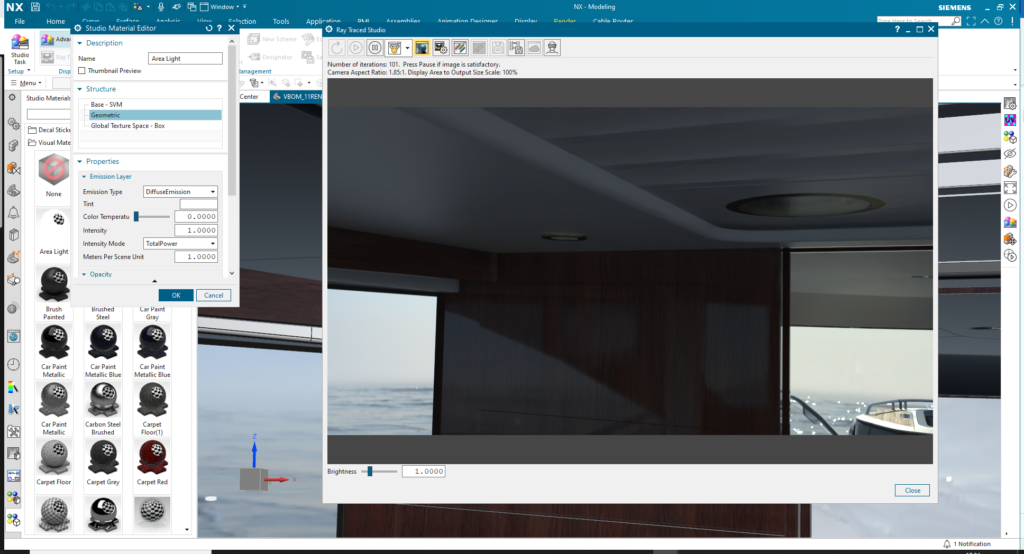
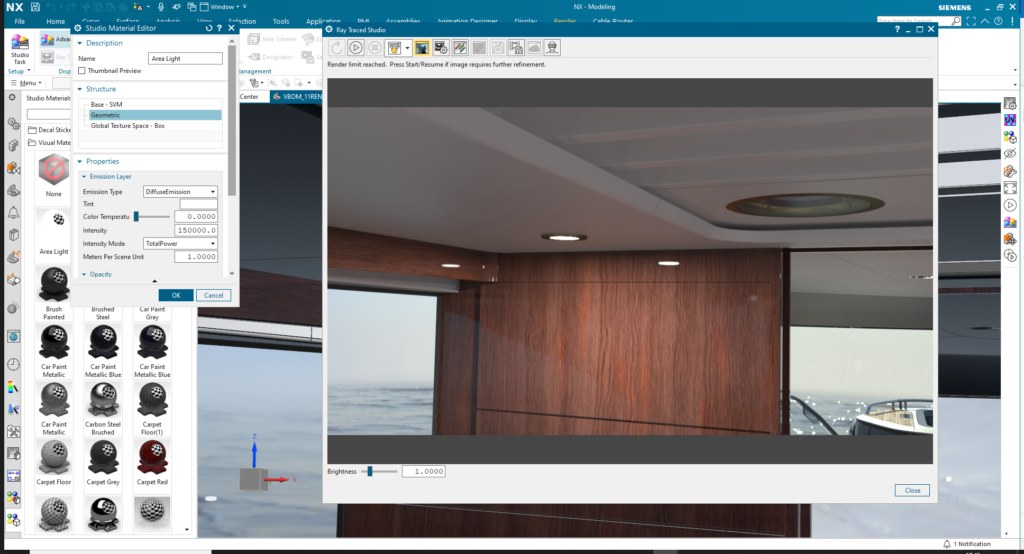
With your own NX workflow, you may or may not be liaising with customers. In this example, Gavin and the team had close engagements with the customer and really wanted to show to them what was possible in NX Render. A key feature that was essential to highlight here is the fact that all the shots in this project are done with the same lighting set up for the interior and exterior.
In conjunction to this, visualization projects can often have totally different set ups for lighting depending on whether it’s an interior or exterior shot. With interiors for instance, you’ll be focusing on brightening up your lighting, paying attention to how it bounces off objects to make the scene feel warm and inviting. However, what Gavin has done here is used the HDR to light the exterior, and the model lights from the yacht itself and then applied emissive materials.
“We’ve used a material that gives off light and then we’ve controlled the power of this, the emissive-ness of that material to actually give us a lit effect inside of the yacht.”
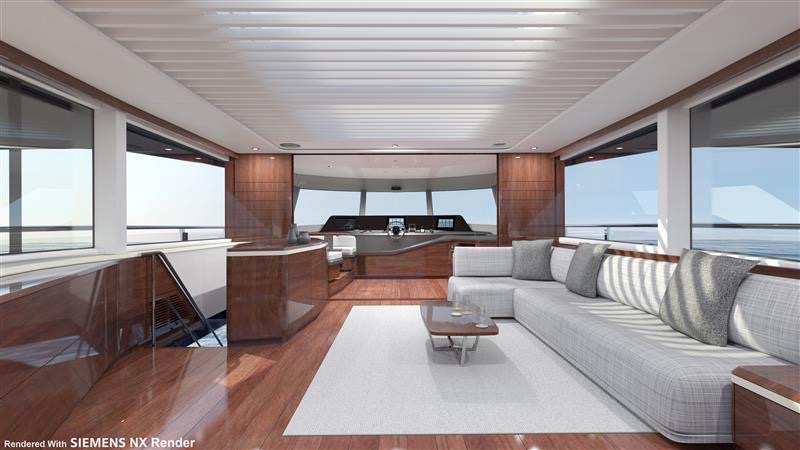
By using the actual lights from the yacht, the model is getting a much more realistic feel and is representative of how it would be in the physical world. You can see on the interior shots how this has created washes of light on the wall, and other similar effects due to this clever and creative decision.
Beginning as a Novice
A huge reason why we have these NX Render blog series’, is to (hopefully!) allow beginners to start their NX workflow with confidence and guidance for each step. One thing to keep in mind, is that NX offers a lot of in-built system scenes to help you. Obviously in this specific example Gavin has created a completely custom environment. However, something to remember is if you do want to go down the route of custom scenes then start looking at environments, researching scenes and how to add your own customization into this.
“For anyone starting out in rendering I would start with opening up NX Render and look at changing the environments. The system environments that come shipped with NX will show you different types of techniques and how things are lit. The next thing you could do at this point is rather than going down the route that we took, research styles available on other websites that you can go and download for free. I would go there and grab one of those and then put it into NX.”
Summary
The more these blogs are posted, we really hope it gives you all insight into how these stunning models and scenes have been created; and helps you begin your own NX visualization workflow. Keep an eye out for the next mini part in lighting and environments as we’ll be diving into customizing the ocean!
