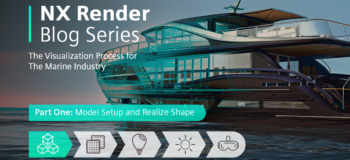
NX Render Blog Series | The Visualization Process for The Marine Industry – Part One
Introduction
Do you know how crucial an effective visualization workflow is for the continuation of success within companies? Well we hope you have seen our other NX Render visualization blogs before that help to showcase this integral process. If you haven’t, you can catch our consumer products series here, alongside our heavy equipment one. We are now bringing you another series, focusing on the marine sector. This will continue to represent how an efficient visualization pipeline is fundamental across all sectors for any CAD dataset when visualizing the digital twin.
If you’re familiar with our previous series then you may know that we will be joined by Gavin McCambridge, our in-house visualization expert who will discuss in detail how such a large scale and luxurious model has been created using NX Render. This first part will focus on model set up, the visual bill of materials (VBOM) and Realize Shape. So, with that introduction – let’s dive in (excuse the pun).
Model Received
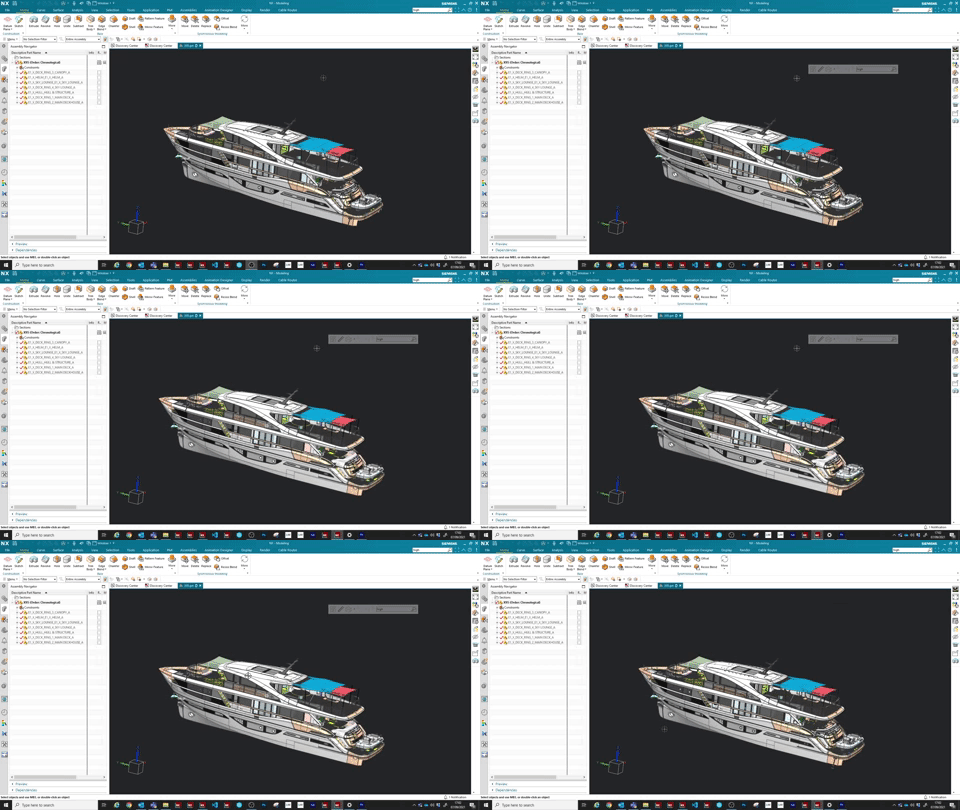
The model we’re focusing on here is obviously huge and very complex, so let’s look at where to begin.
“Once we have the model received and in, the first thing I will do is look through it. I’ll open it up in NX and the main thought focus at this point is to look at the structure. How the assemblies are set up, has it been named correctly? Are they using a numbering system? Just get my head around however this model has been done.”
This stage may be different depending on your role within your company. For Gavin, he is looking at different data sets all the time, whereas you may be working on one specific model and so you become familiarized with it very quickly. Bottom line, the key for step one is really understanding your model and knowing it inside and out. This process will make any amendments later in the workflow much easier for you as your model will be set up with how you want to navigate it.
Importance of Research
Let’s move on to the research process. We’ve all seen yachts, whether that’s on location at a marina in Monaco or on a simple Google search; either way, the style is class and the actual set up of the yacht is key – this is where research comes in.
“What I like to do first is to get a good idea of the brand that I’m working with. I’ll go to the internet; I’ll look at the company itself and how they portray themselves. What’s the kind of look and feel? Get an idea of the style of visualization and photography they use to show their products off.”
We’ve said this in previous blog posts, and it may seem like a basic step, but an important one all the same. If you don’t understand your model and the industry, then you’re not going to capture the realism to the same standard. NX Render really enables you to utilize its capabilities to showcase your model; a grasp of the model from research in advance will really compliment this.
Setting up your Visual Bill of Materials
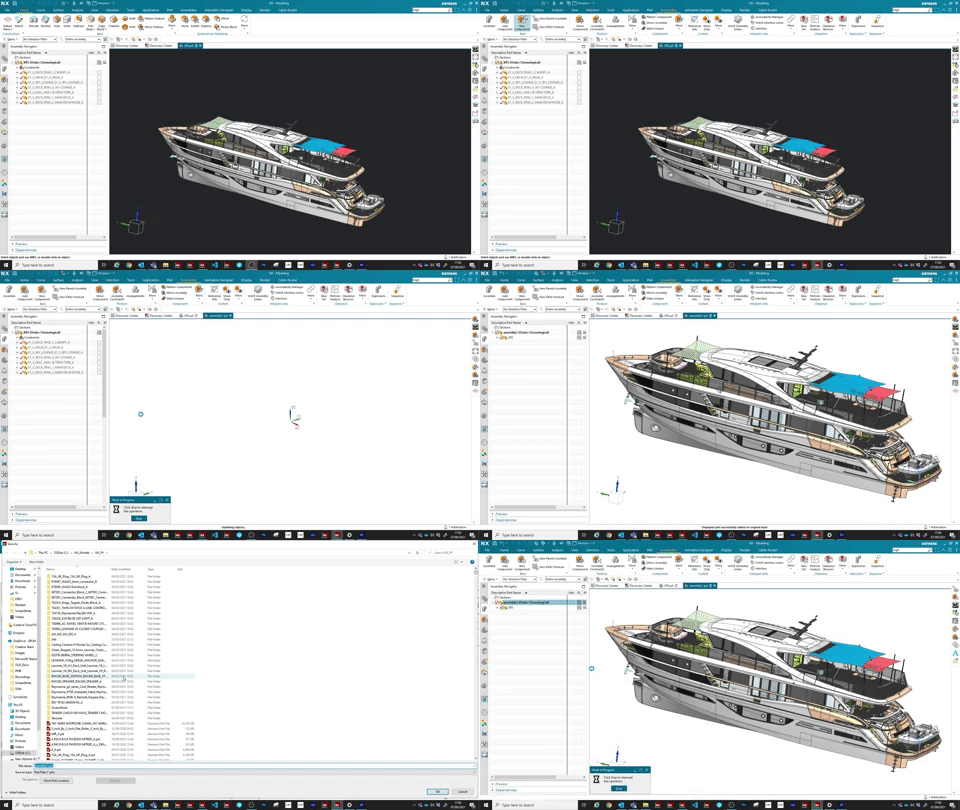
We’re now at the stage where we can set up your visual bill of materials, or you may have heard this referred to as VBOM. This is a clever trick that you can use to focus on the areas of the design you wish. It is helpful at this point in your workflow to keep the VBOM and EBOM (engineering bill of materials) separate.
TOP TIP
“The VBOM will allow us to work and do everything that we need to do in a separate area. For example, adding in any new content or geometry will stay here on it’s own. That’s the main reason why we’re doing that and it’s quite an easy setup. We’ve basically put an apparent assembly above so that we can keep different streams of data. We can have the EBOM as it is, which we don’t touch, and then underneath that we can have the VBOM. It makes it much easier!”
Managing Different Data Types in NX Render
Focusing on such a large and impressive model is overwhelming. It may feel like it’s going to be hard to keep your engineering data separate to your visualization data. Let’s look at what Gavin has to say when it comes to keeping your different data types easy to handle.
“What we talked about with the VBOM earlier, this keeps my data visualization separate from engineering data. This also means that the engineering data can be worked on separately. It can be updated, and those changes can come through to this data set that I’m using with the VBOM on top of it. So effectively the new geometry that I’m adding in for visualization purposes, at no point will ever affect the EBOM. So, in short, this is not a challenge at all!”
Additional Geometry with Realize Shape
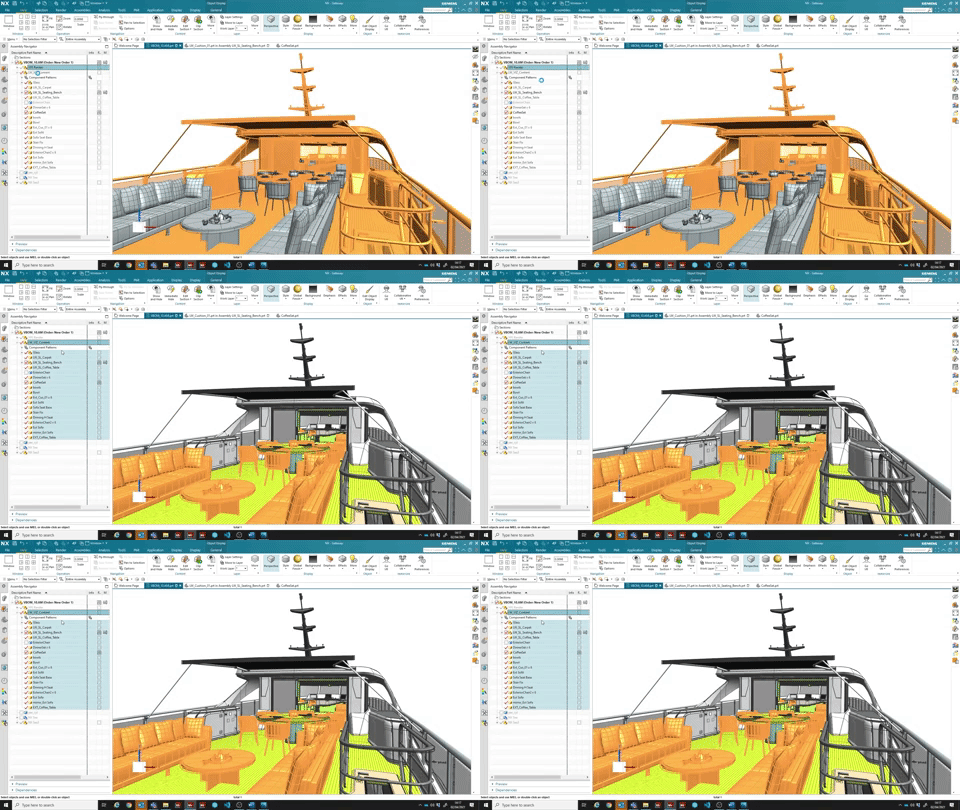
Looking at the yacht itself, it’s probably fair to say that one of the most interesting parts of the model is the detail and how real and ‘lived in’ the structure looks. The close attention to the soft furnishings around the seating area and the slight clutter that naturally accumulates is important to the sense of realism; so let’s take a look at how to add in additional geometry.
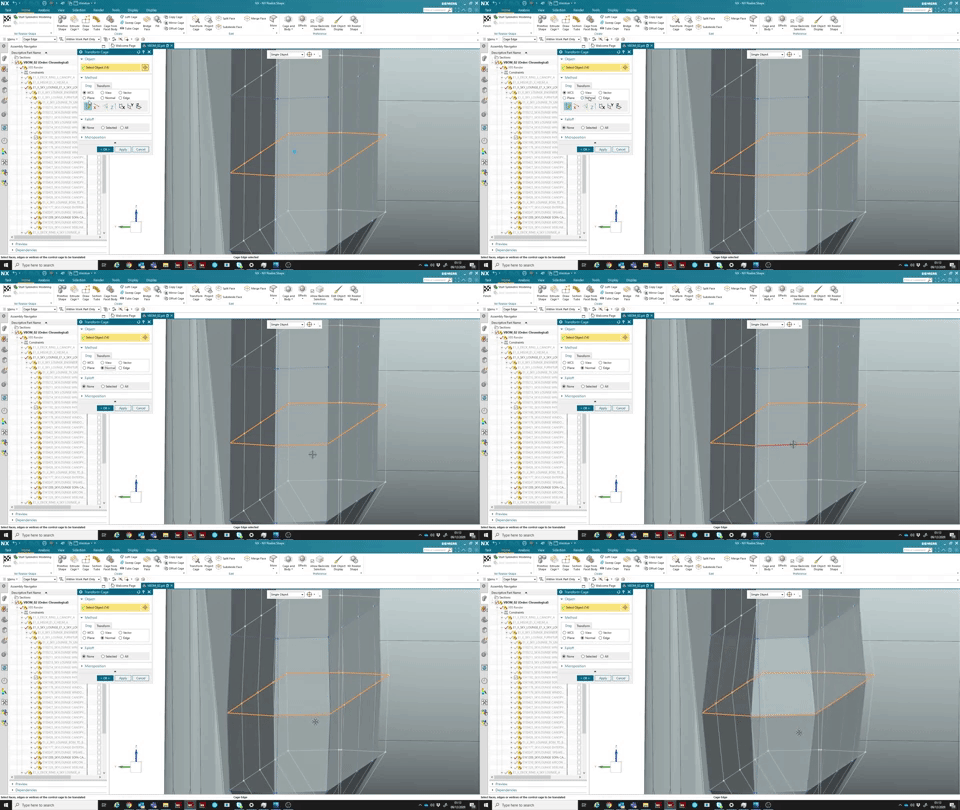
“One of the things for this kind of a model is it’s basically the structure of the yacht that we’ve got, to manufacture it, apart from all the soft furnishings that we want to add in to make it look a bit more lived in. What we’re doing here is we’re going to use Realize Shape.”
Realize Shape is a soft body modelling tool within Siemens NX that uses polygon modelling to better enhance softer appearances to the new geometry. To put it simply, it gives the user the ability to add stock shapes into their scene. These can then be manipulated, stretched, rotated, pulled and eventually tied together with any other geometry within the model scene. On the exterior of the yacht for instance, we can see the cutlery and plates on the table set up. Gavin has created these using Realize Shape to add more depth to the environment and ultimately helping to bring the model to life.
Summary
And that’s that! Part one is complete and has hopefully given you an amazing insight into the model set up and how best to utilize the Realize Shape feature within NX Render. Make sure you stay tuned for a new NX Render Talk Series for Marine that we will share in the next few weeks, and part two of this series which will focus on material application and appearance management. Catch you next time!
